In this tutorial I will teach you how to
link Eclipse with Minix through RSE and the infamous
Hello world program.
RSE, also known as Remote System Explorer, is a plug-in for eclipse which will be essential to develop Minix applications.
First of all, open Eclipse and boot Minix.
Log in minix. If you did not catch this in the previous tutorial, both the
username and
password are
lcom.

In eclipse, open the Remote System Explorer perspective.


If RSE is not on the list, you will need to install it:
- go to Help > Install New Software;
- paste the url of the repository of your eclipse version. In my case it is:
http://download.eclipse.org/releases/luna/
- type "remote" in the filter
- select Remote System Explorer End-User Runtime

- click next, I agree and finish
We now have the RSE perspective up and running, but we still have to configure the connection to Minix.
Click the button to
add a new connection:

Select
SSH Only and press
Next.
Name the connection
minix and press
Finish.

The minix connection should now appear on the list of Remote Systems:
 Right-click Sftp Files
 and choose
Properties.
Under
Subsystem, change the port to
2222 and save by pressing
OK.

If you try to open
My Home, you will be prompted to enter a password. Again, use
lcom for both
User ID and
Password and press
OK:

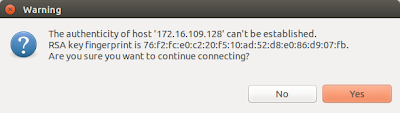
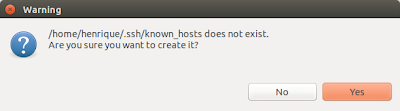
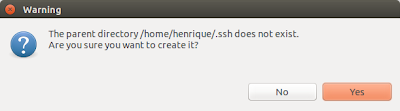
Since it is the first time we are opening the connection, some messages will pop up...
Just press
Yes,
Yes,
Yes and
Ok.

Now that we have everything set, let's create our first program via RSE!
Right-click
My Home > New > Folder and name it
hello-world.

Right-click
hello-world > New > File and name it
main.c.

You should end up with:

So, what we've done so far was to create a folder and a file inside it using RSE. Let's switch to VMware and see if the folder is really there.
Right after logging in, type
ls and press
Enter. This command
lists the content of the current folder we're in. If you did everything correctly so far, there should be a folder called
hello-world!

Now, let's navigate to hello-world and check it's content.
To navigate to another folder, use the command
cd destiny-folder. So in our case, just type:
cd hello-world. If you now list the current folder's content using
ls, the result should look like this:

I really hope you are getting the hang of this and hopefully everything is making sense.
Let me teach you a little trick that is REALLY useful.
First, navigate to the folder that contains hello-world, in other words,
go up in the folders tree using the command "
cd ..".
Just to make sure we're where we wanted, type
ls. The result should be:

The trick I wanted to show you is the
auto-completion. Trust me, it is VERY useful.
I want you to navigate to the hello-world folder again, remember the command? Yes, it is
cd hello-world. BUT DON'T TYPE IT JUST YET! I want you to type
cd h and afterwards to
press Tab on your keyboard. Hopefully, after pressing tab, the command
auto-completed to
ch hello-world/.

And that's it, try not to forget this and use it whenever you can, since it makes browsing through folders
blazing fast and you will
never misspell a folder again.
The auto-complete also works with files. You must notice though that when you have more than one folder starting with the same letter, the auto-complete will not work and you must provide an additional letter until the prefix on the command only matches to one folder.
Time to switch to Eclipse.
Open
main.c and write a simple hello world program:
#include <stdio.h>

int main() {
    printf("Hello cruel world!\n");

    return 0;
}
 Save
Save main.c and switch to Minix.
You can type the command
clear to clear the minix console.
You should still be
inside hello-world folder, so the
output of
ls should currently only be
main.c.
We now want to
compile main.c to create an executable file.
The command goes like:
gcc -Wall main.c -o hello
The
output of
ls should now consist of
two files:
main.c and
hello, the latter being the result of the compilation of
main.c.
Well, what are we waiting for?! Let's run it! Type:
./hello and the result should look like this:

And there is the expected output:
Hello cruel world!
I guess this is enough for one tutorial!
Let's just turn off the virtual machine and review this tutorial's commands.
To turn off minix, type
shutdown. Wait for it to work, and then type
off.

Minix should have turned off as well as VMware.
Commands used on this tutorial:
ls
lists the content of the current folder
cd destiny-folder
navigates to the specified folder
cd ..
navigates up (in other words, to the folder containing the current folder)
clear
clears the console
gcc -Wall file.c -o result
compiles
file.c to an executable named
result
-Wall is a
compile flag that activates the output of all the existing warnings on our program during compilation. For
LCOM evaluation purposes, this flag must be active and no errors/warnings are admitted on the compilation output.
./executable-file
runs
executable-file
shutdown
turns off minix
off
completely turns off minix and closes VMware
Back to index
Click
here to go back to the index post.


